Designing a space requires more than an aesthetic eye; you’ve got to be a bit of a creative problem solver, to boot. One of my recent design projects posed a new challenge for me [bring it], so both sides of my brain got to work.
Problem: my clients wanted a fireplace in their downtown loft…a type of dwelling that typically already performs several functions [one space = kitchen, dining room, office, bedroom, etc]. The addition of a traditional gas fireplace -- even one with a sleek, modern mantle -- was out of the question; we couldn’t ventilate through the concrete walls, and it would require too much depth. We also happened to be working with a wall that housed the cables and cords for the home’s internet access. These cords could not be relocated. These cords were a disaster.
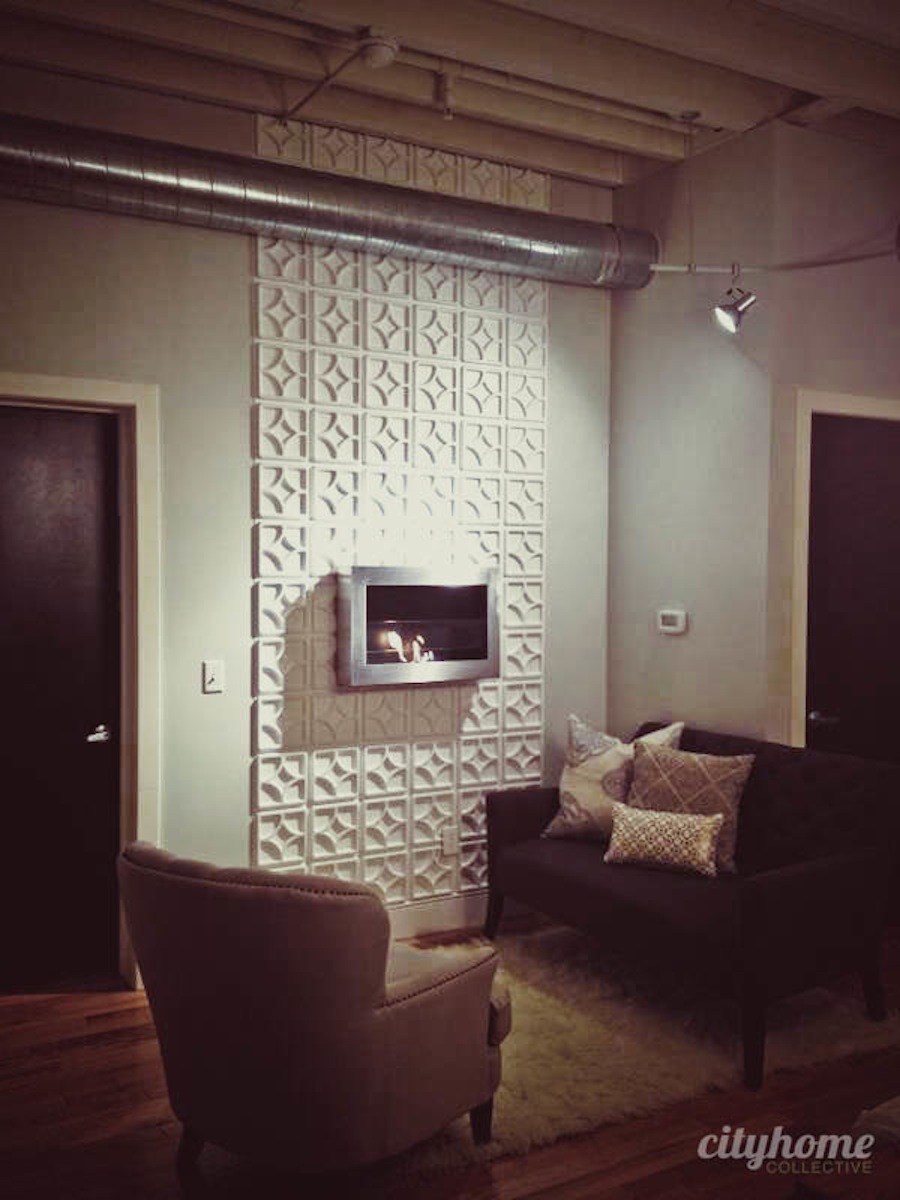
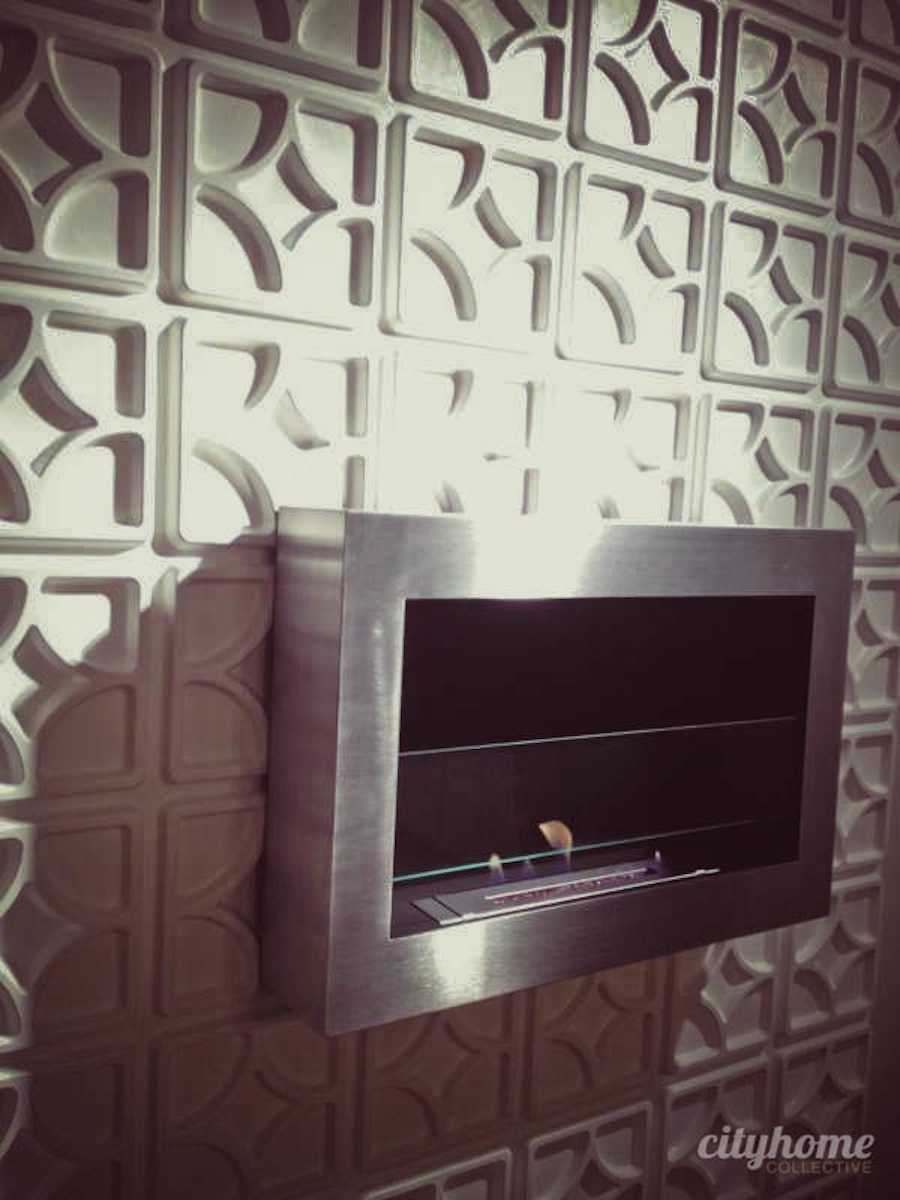
Step 1: Find a fireplace that works in a small space. There are some super alternatives to gas and wood burning fireplaces. With a little searching, I was able to nab a simple, modern, stainless-steel fireplace that burns fuel cartridges. The flame isn’t just for show, though; depending upon the size of the unit, it can give off varying degrees of BTU's [enough to heat a space]. It hangs on the wall like a piece of art. No venting required, either, which means it can be used any time, any place. Perfect for a cold basement…or any spot where heat is needed, but a space-heater eye sore won’t cut it.
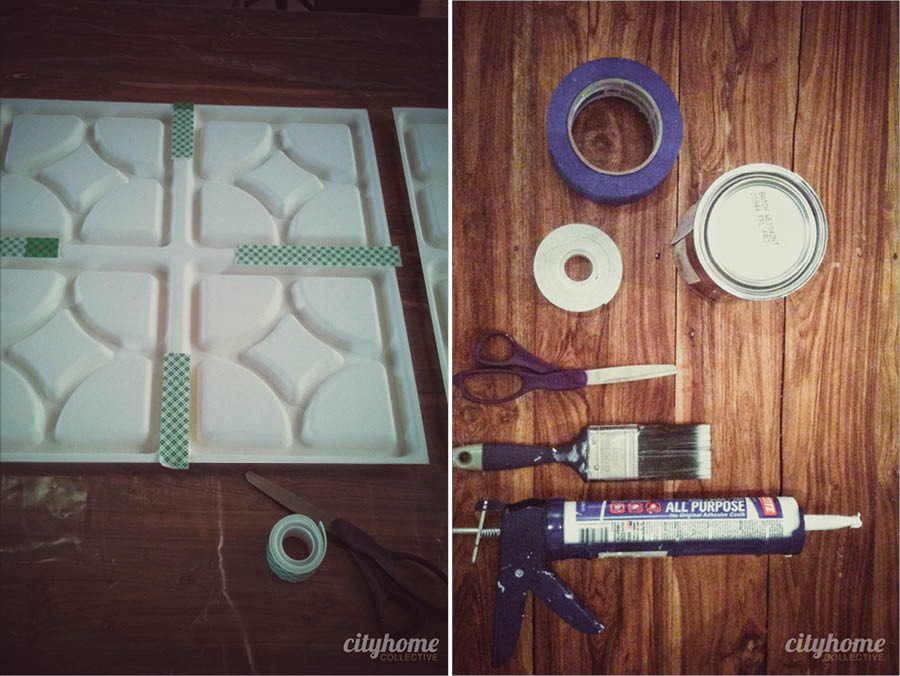
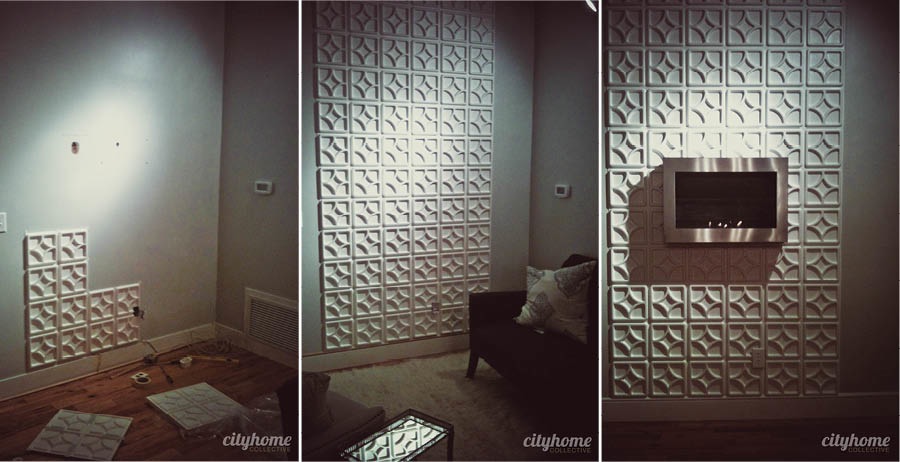
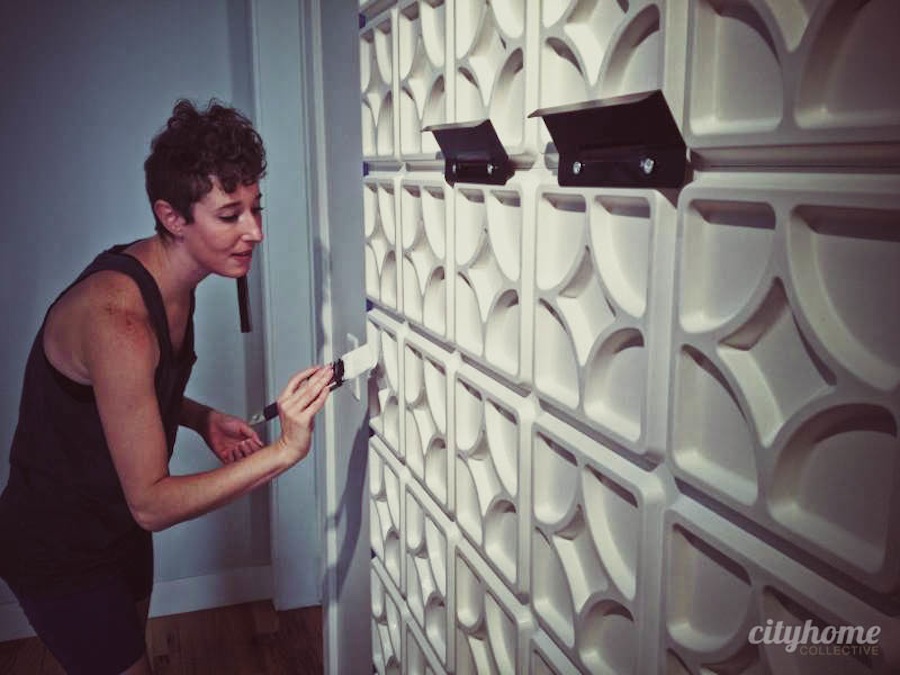
Step 2: Create a dramatic focal point. It wasn't enough to hang the fireplace on the wall and call it a day. Fireplaces can be ideal focal points in a room; although we were scaling it down in size, it was important to create just as much impact. I decided to use textured wall panels to frame out a floor-to-ceiling section of wall and create a modern mantle of sorts. Given our lofty ceilings, this added some much-needed dramatic effect. These bio-degradable wall panels are 18"x18" and come in a variety of styles. They feel like heavy paper plates, so using a double-sided mounting tape was sufficient in securing them to the wall. This particular choice in panels was a paper composite that had to be painted, and I chose to go with a semi-gloss version of the satin wall color for a little light reflection and pop. Once it was painted and caulked, it blended beautifully and felt like part of the structure.
Step 3: Hide cords and cables. The wall panels we used are 3-dimensional, so we were able to remove the plate covers from the cable wires and cords and inset them into the wall slightly. That done, they could be lined up to fill the trenches in the panels on the back side. All cords were then run into the utility closet, perpendicular to the new location of the modems and such. Our finishing touch was an extra strip of molding along the bottom, which hid the entry hole to the closet. Cords, gone. Look, flawless.
Solution/Lesson: Get creative and make it work. Good design is a double threat – looks super aaand solves problems.
This space is a work-in-progress that will, no doubt, turn out spendidly. Stay tuned for the finished goods.